Click the link “Risk Matrix” in the left navigation menu and the following screen will be displayed.
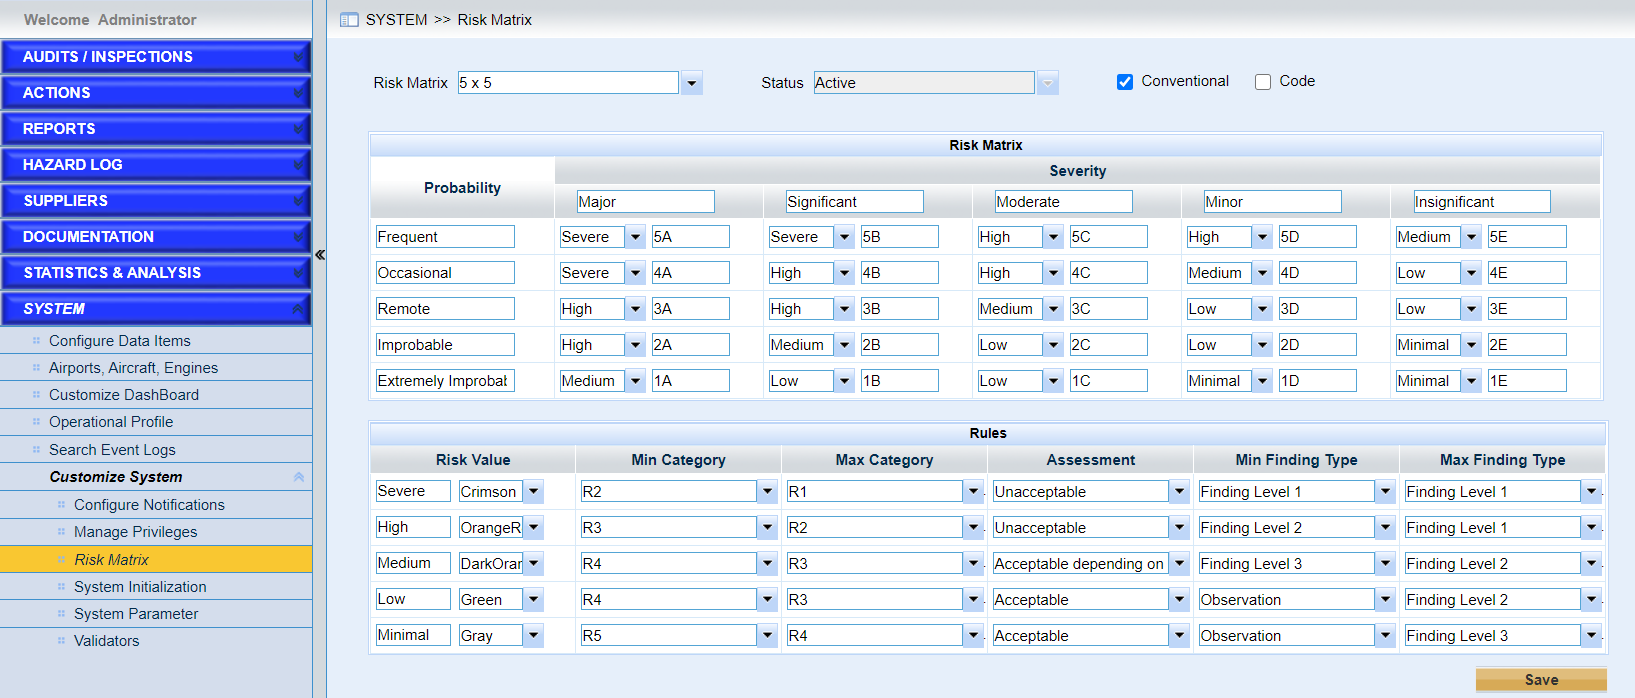
This page provides users to configure the risk matrix to assess risks. There are two checkboxes on the top of the screen i.e. :"Conventional" and "Coded" . Users can use different combinations of the values in the Risk / category column. "Conventional" is checked by default
•Choose one risk matrix.
➢Click the “Risk Matrix” drop-down list and select one risk matrix
•Specify the risk value used
➢Conventional
The original risk values, such as “Severe”, “High”, “Moderate”, “Low”, and “Medium” will be used.
➢Code
Here IMX preloads default codes values, such as “5A”, “5B” and so on to customize the risk values if the conventional codes cannot meet your request.
•Examples for the risk value specified
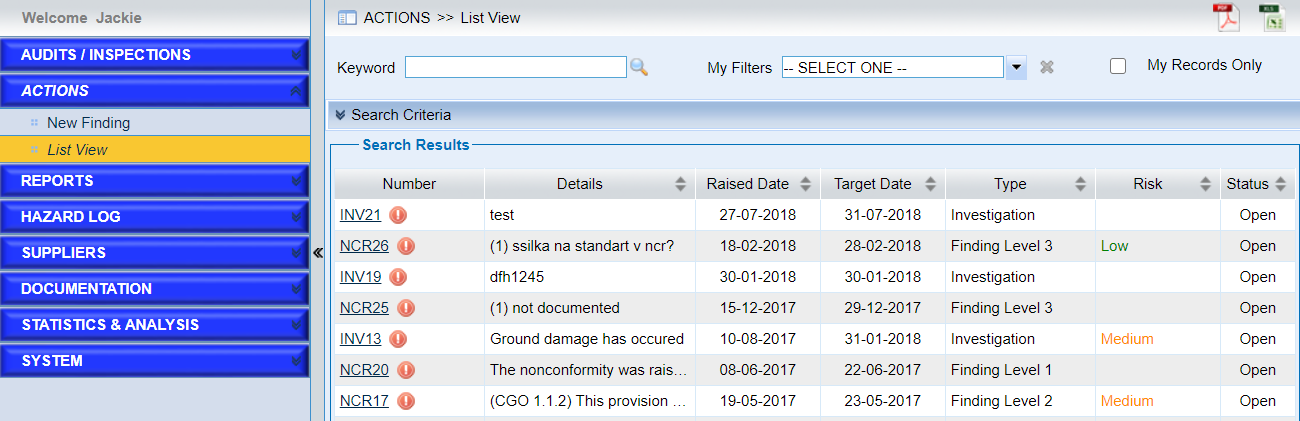
➢Only conventional is selected
As the screen of Action module shows below , conventional risk values will appear in the column.
➢Only Code is selected
As the screen of Action module shows below , risk values codes will appear in the column.
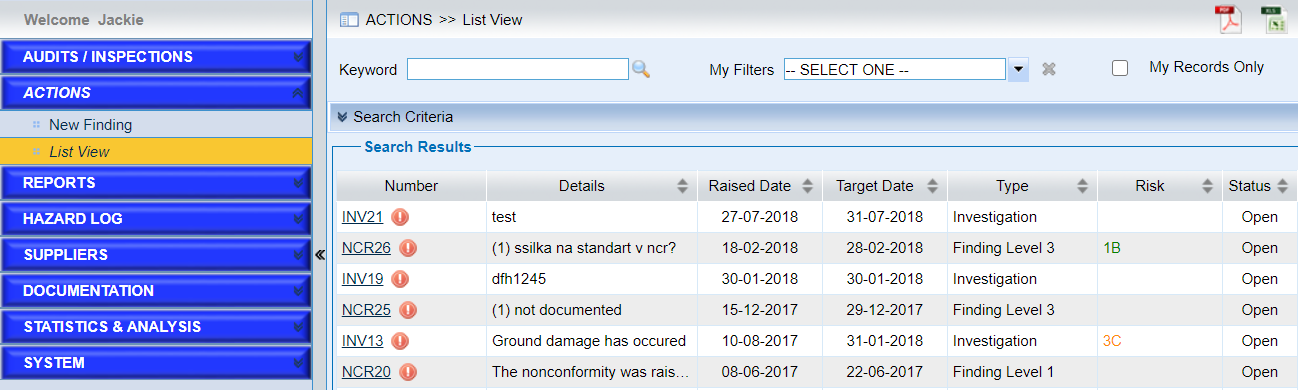
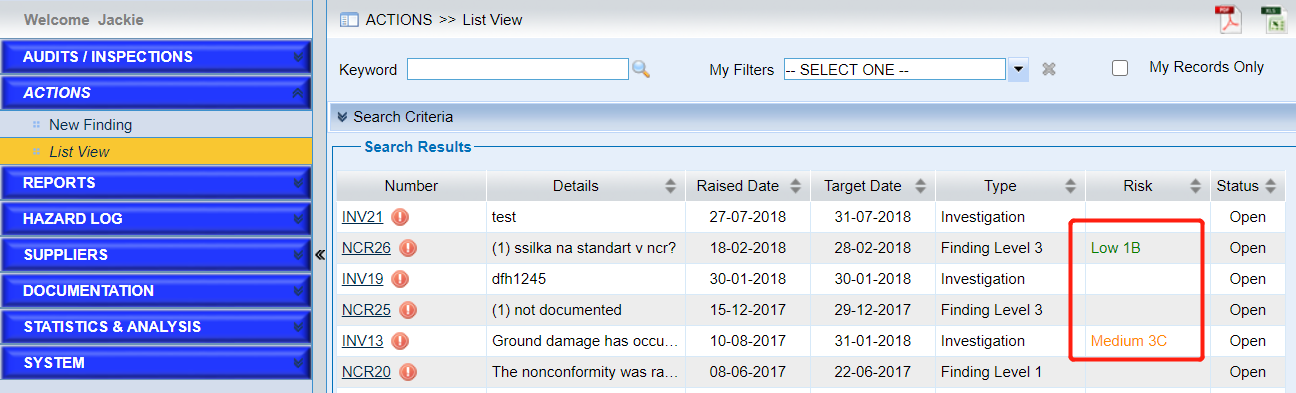
➢Both checkboxes “Conventional” and “Code” are selected
As the screen of Action module shows below, risk values with combination of conventional values and codes appear in the column.
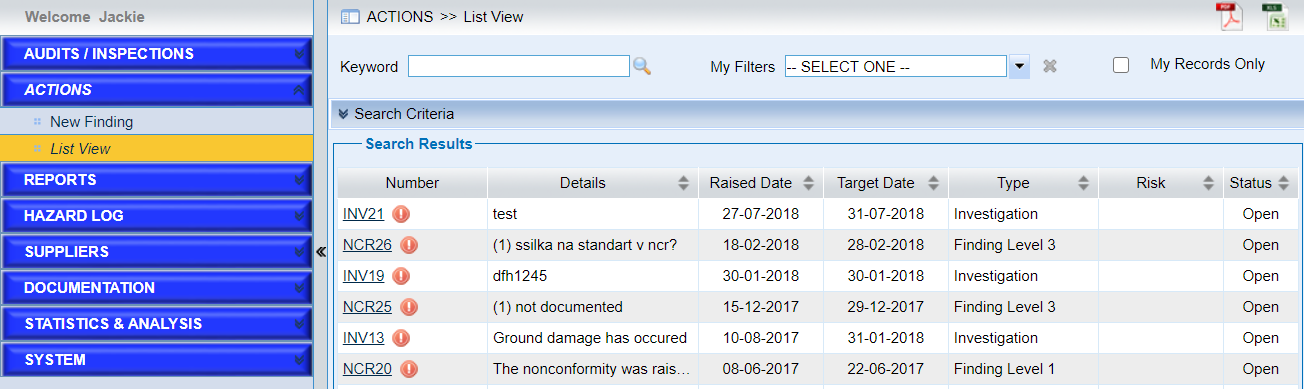
➢None is selected
As the screen of Action module shows below, risk value will be empty in the column.
➢Configure the rules for the risk matrix selected.
Note |
The default sequence used in IMX is ‘R1 > R2 > R3 > R4 > R5’. |
•Save the configurations.
Click the “Save” button to save the configurations.
Note |
If you want to enable another risk matrix, choose it, and set its status “Active”. Click the “Save” button finally. In this case, it will be activated and the original one which is active will be set “Inactive” automatically. |