When users click the checklists in the page “View Audit”, the page will turn to “Use Checklist”.
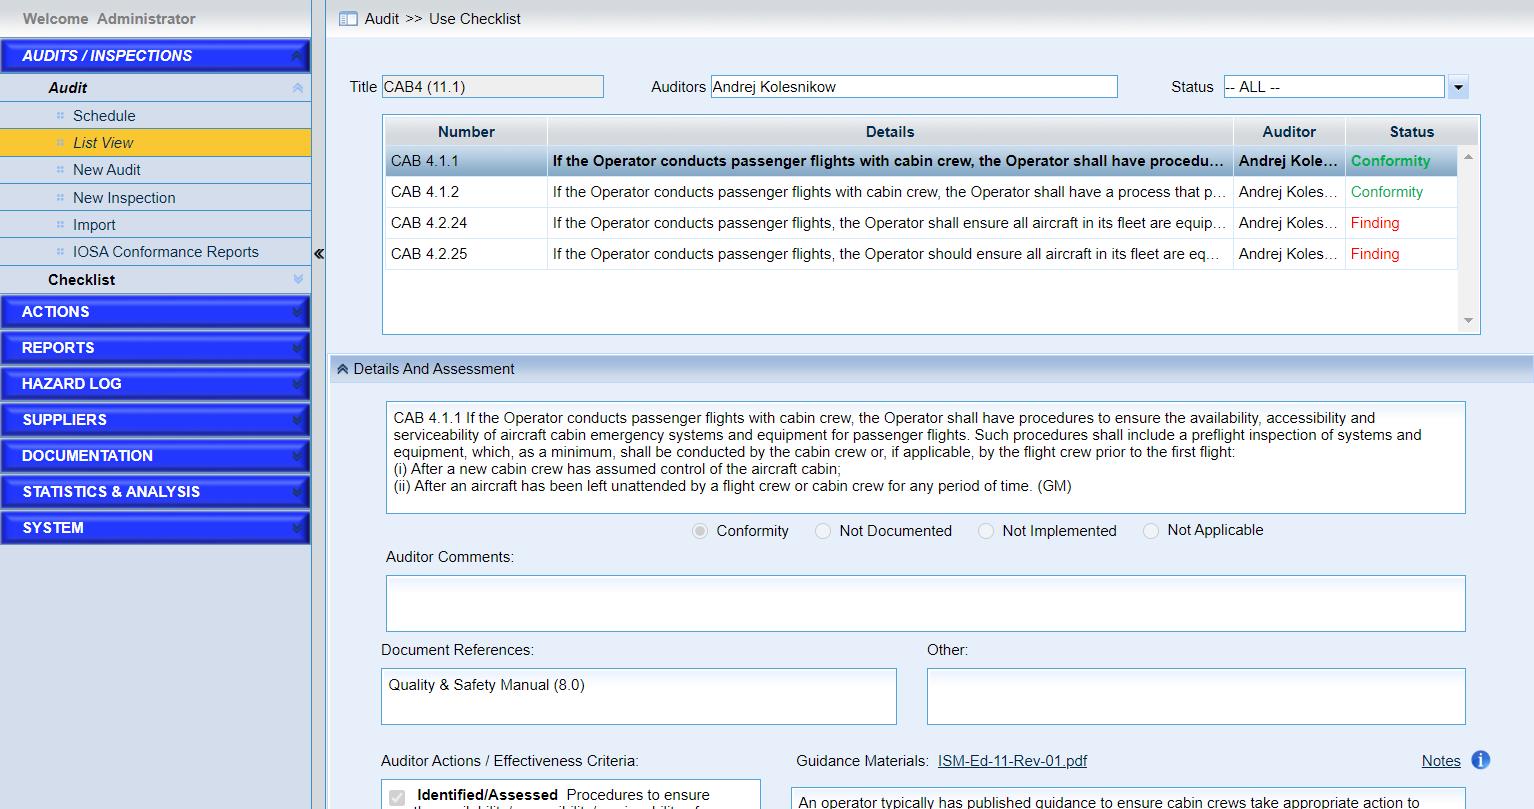
As the screen above shows, this is an IOSA checklist. Here is the detailed introduction of the fields in the page.
•Filter the checklist items by choosing the status in the drop-down list “Status”.
•Choose one item with status “Incomplete”.
•Assess it by clicking “Conformity”, “Not Documented”, “Not Implemented” or “Not Applicable”.
•Fill out the auditor comments, document reference, or other.
•Specify the audit actions.
•Add notes for checklist items
Click the link “Notes” and one window pops up as follows,
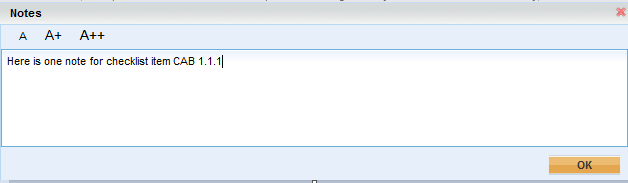
➢Click “OK” when the notes are finished, and the notes will be saved when the button “Accept” or “Skip” is clicked.
➢The icon •Click the “Accept” button to accept the current assessments. If “Not Documented” or “Not Implemented” or both of them are selected, a window will pop up to ask users to create a new finding. If uses choose “Yes”, the page will turn to “New Finding”. Or else user can create a finding later. Once the assessment is accepted, the status of the current checklist item will be changed. •Click the “Add Finding” button to add one finding for the checklist item with status “finding” if the finding has not been raised. •Click the “Skip” button to Skip the current checklist item and the next checklist item will be chosen. The document references, other references and auditor comments will be saved if “Skip" button is clicked. •View the percentage of checklist items that have been assessed. If users have accepted the current checklist item, the total score will be changed. The total score represents the rate of checklist items that has been accepted in all of the checklist items of the current checklist. ![]() will be displayed following the link when there are notes for one checklist item.
will be displayed following the link when there are notes for one checklist item.